
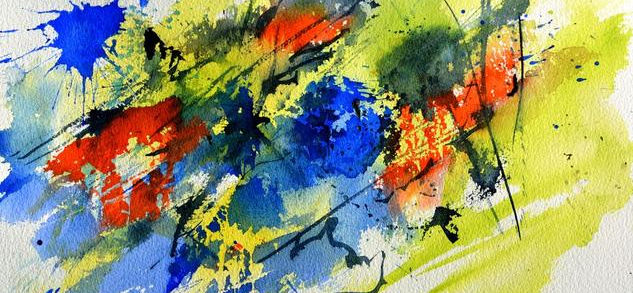
"Don't fall into the temptation of simply painting an outline and then filling it in". So goes one of the first lessons the novice watercolor painter jots down in his notebook. And inside it, in a great hurry, he writes a complete recipe book of formulations, contrasts and tips applied since time immemorial by the experts. A little later, he forgets the notebook. A little later, he loses the notebook. And in his novice wanderings, another beginner passer-by finds the notebook again. And opens it. And there they still are. Tips and techniques for painting watercolors.
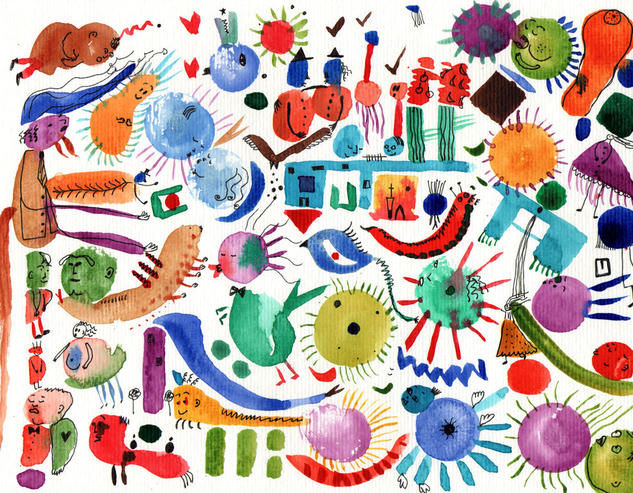
Watercolor is an ideal medium for capturing all sorts of objects, from a leaden storm sky to the passionate tone of a furious petunia. So it's hardly strange that many artists choose it as their first option. Even the clumsiest childhood has dissolved pigments in water and then spread them over paper. As adults, the act puts us off a little if we've never been able to produce images that others find acceptable. The disappointing emotional affliction of the purser's experience.
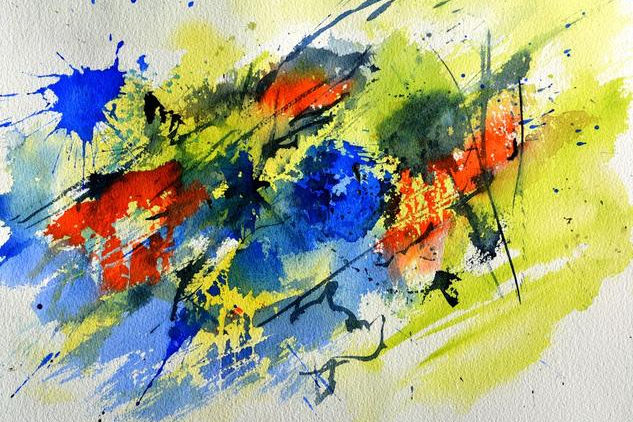
Lesson 1: color. Mastering color is crucial if you want to succeed as a watercolor artist. Many people are surprised to find that only a small number of pigments on the palette are needed to produce a wide range of colors. Without a doubt, the best way to get familiar with the broad repertoire of effects and tonalities that watercolor offers us is to take a few sheets of paper and simply have fun experimenting. It's good to discover that paint has an inherent beauty of its own as a vehicle for expression, whether or not you manage to create recognizable images.
First of all, it's important to learn how to handle the excess liquid or "pool" that gathers at the bottom of the paper after each brushstroke. This is a fundamental rule for mastering the flow of the paint, an essential requirement if you intend to develop this technique. It's also advisable to avoid drawing guidelines on the paper, at least in your first attempts, since approaching watercolor without a previous sketch encourages expressive handling of the brush.
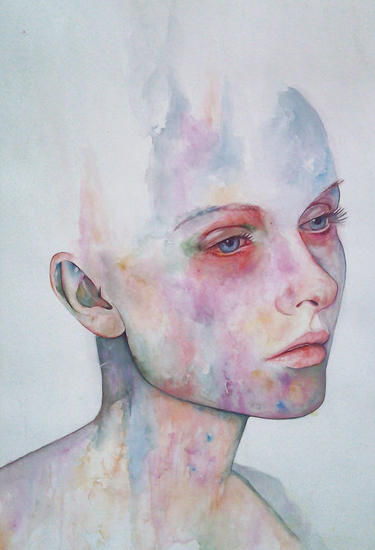
Lesson 2: mixing in recommended doses. To get a heterogeneous compound, watercolor offers the technique popularly known as "wet on wet". It consists of applying the second color next to and in contact with the first before the first one dries. If you don't want the colors to run into each other, simply wait, this time yes, for them to dry. There's also the "bleed" technique, in which you first paint the shape with clean water and then apply the pigment, which spreads with all the ease the applied moisture gives it.
Besides these two, "wet on wet" and "bleed", you also have the one known as "adding". Here the water is applied on top of the pigment afterwards, which gives a certain dimension to the resulting shape. That way the composition stops looking flat to the eye, producing a dark edge that lends a certain three-dimensionality or depth to the outline of the shapes. If the aim is for two colors not to touch but still complement each other, you can leave small white spaces between them. The human eye will tend to join them up.
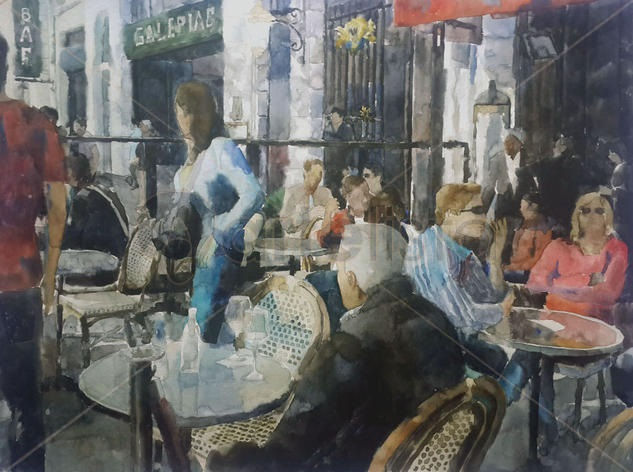
Lesson 3: shapes. There are two different methods for exploring the creation of shapes with watercolor. The first uses color wheel theory. The second works by lifting and layering. The color wheel is a very suitable system for arranging the different colors of the spectrum. Following a very simple maxim: "above the wheel to lighten, below the wheel to darken". This lets us select colors from the wheel to create light and dark objects without losing the purity of the color. This method requires handling, precisely, mind you, the "wet on wet" technique mentioned earlier. Colors combine this way while keeping their distinctive features. As for the second method, a similar result is reached by a different route. It's the lifting and layering method. Which we'll tackle another time, since we're running out of time.
Discover more watercolor artworks here!






Comments (0)
Log in to leave your comment. Log in